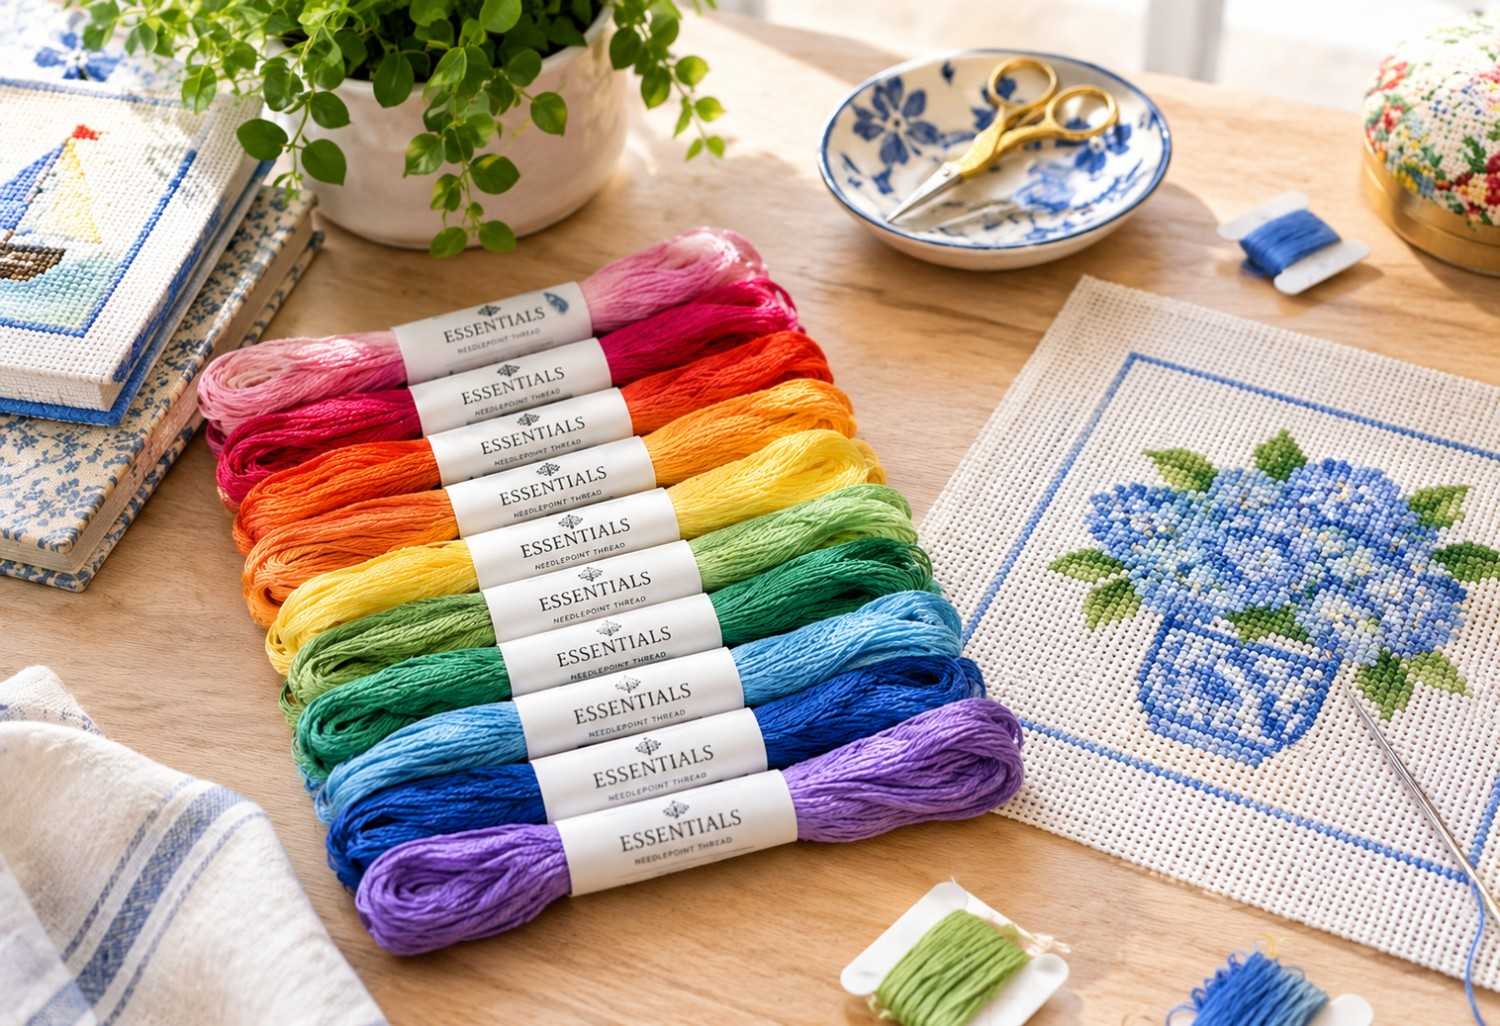
Choosing the right thread can make a noticeable difference in how a needlepoint project looks and feels. Thread affects coverage, texture, color, and even how comfortable a project is to work. For stitchers who enjoy experimenting with different designs, understanding how to use Essentials Needlepoint Thread can make the creative process much easier.
Whether you are working on a small ornament, a decorative canvas, a pillow, or another project, the goal is not simply to pick a beautiful color. You also want to consider the canvas mesh, stitch type, desired coverage, and overall effect. A little planning before you begin can help you achieve cleaner and more consistent results.
Start by Understanding Your Canvas
Before choosing your thread, look closely at the canvas you are using. Mesh size determines how much space there is for the thread and plays an important role in deciding how much coverage you can achieve.
A finer mesh has smaller openings, while a larger mesh has more space between the canvas threads. Your thread should pass through the canvas comfortably without feeling overly tight or difficult to pull.
I always recommend testing a small area before committing to a large section. A quick test can show whether the thread gives you the coverage and texture you want. It is much easier to adjust your choice early than to discover halfway through a project that the thread is not producing the desired effect.
Choose Colors With the Whole Design in Mind
Color is one of the most enjoyable parts of needlepoint, but it can also be one of the trickiest. A thread may look different when placed next to other colors than it does when viewed on its own.
Start by identifying the main colors in your design. Then consider which shades will be used for backgrounds, outlines, highlights, and smaller details. You do not necessarily need a different thread for every tiny color variation. Sometimes using a related shade can create a softer and more unified appearance.
For example, a group of green shades can be used to create leaves or botanical details, while several neutral colors can add depth to backgrounds or decorative elements. Working with a thoughtful color palette can make a simple design feel much more dimensional.
Pay Attention to Thread Coverage
Good coverage does not always mean completely hiding every part of the canvas. The amount of coverage you want depends on the design, canvas, stitch, and personal preference.
When using Essentials Needlepoint Thread, pay attention to how the thread sits over the canvas as you stitch. If the canvas is showing more than you want, you may need to reconsider your strand amount or stitch technique. If the thread feels bulky or difficult to pull through the holes, it may be too heavy for the particular canvas or stitch.
A small test area is especially useful here. Stitch several rows and look at them from a normal viewing distance rather than examining every stitch individually. This gives you a better idea of how the finished section will actually look.
Experiment With Different Stitches
Thread becomes even more interesting when you combine it with different stitches. A simple stitch can create a clean background, while decorative stitches can add texture and visual movement to selected areas.
Think about the role each part of the design plays. You might use a straightforward stitch for a large background and reserve more decorative stitches for flowers, borders, lettering, or other focal areas.
The thickness and texture of the thread can influence the final appearance of these stitches. This is why testing is so helpful. A stitch that looks great in a reference image may produce a slightly different effect with your chosen thread and canvas.
Try Blending Colors and Textures
Creative needlepoint does not always require complicated techniques. Sometimes subtle color combinations can make a project much more interesting.
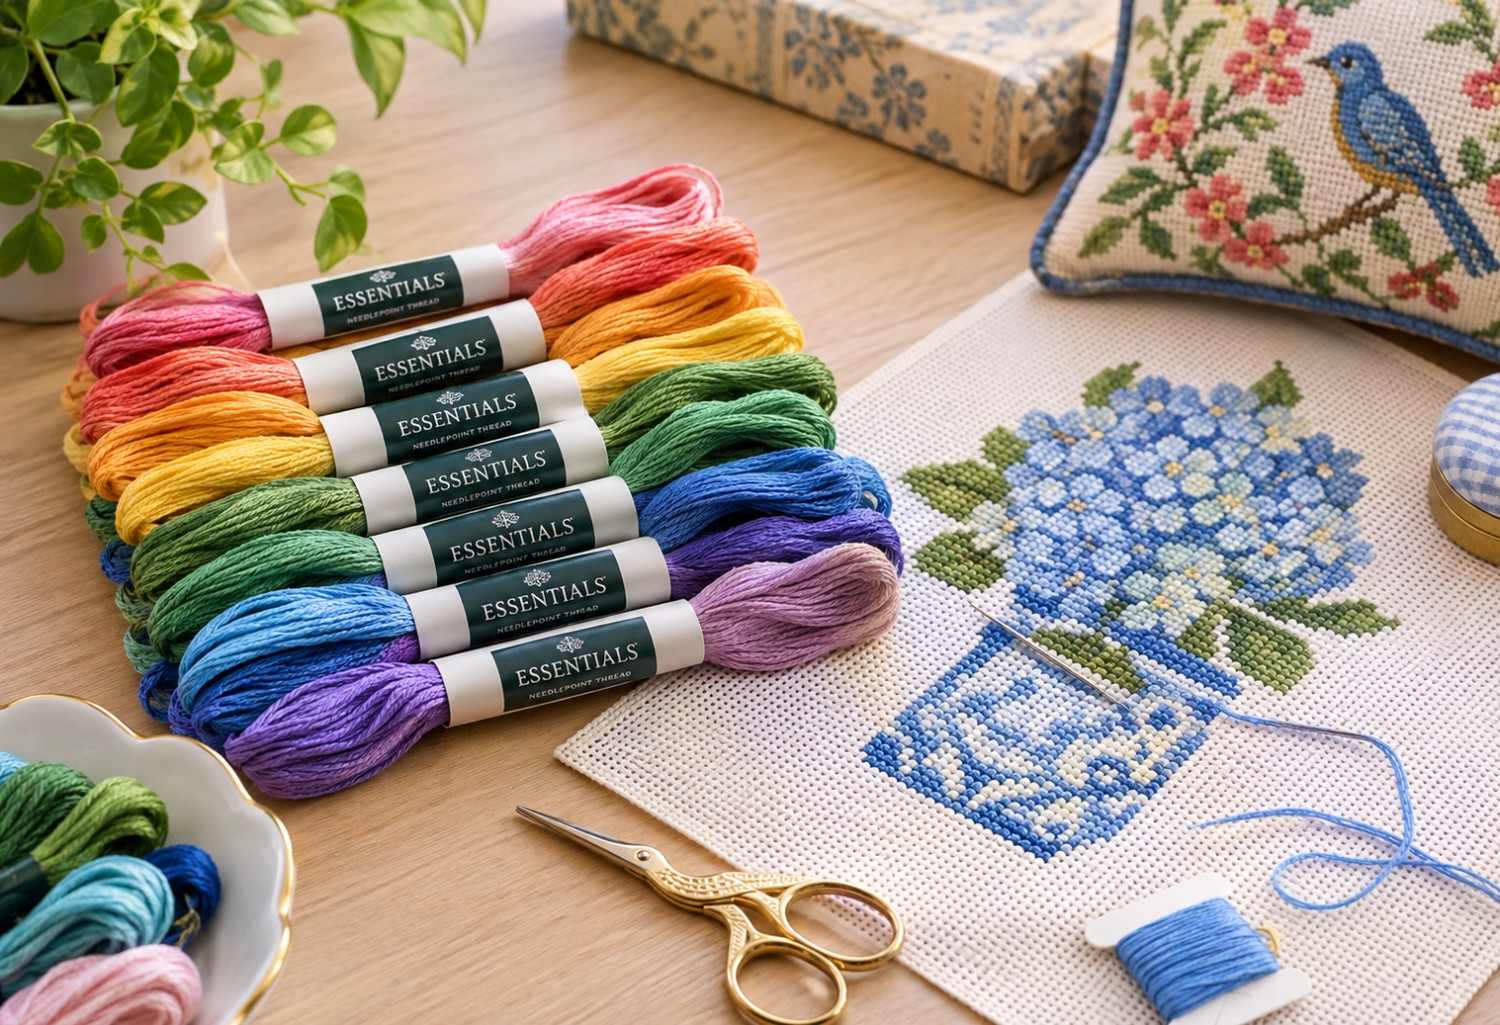
You can experiment with nearby shades to create gentle transitions or use contrasting colors to make certain areas stand out. Texture can also be used to separate different parts of a design. A smoother section next to a more textured area can create visual contrast without changing the overall color palette.
When exploring an essentials thread needlepoint project, I find it helpful to make a small sample first. It lets you compare colors and stitches before applying them to the main canvas. This simple step can save both time and thread.
Keep Your Thread Tension Consistent
Thread selection is only part of achieving an attractive result. How you handle the thread matters too.
Try to maintain a comfortable, even tension as you stitch. Pulling too tightly can distort the canvas or make stitches look uneven. On the other hand, stitches that are too loose may not provide the coverage you expect.
I also like to avoid using extremely long pieces of thread. Longer lengths can become worn, tangled, or fuzzy as they repeatedly pass through the canvas. A manageable length is generally easier to control and can help keep the thread looking fresh.
If your thread begins to twist while you work, allowing the needle and thread to hang freely for a moment can help release some of that twist.
Make a Small Practice Sample
One of the simplest ways to improve your results is to practice before working directly on the finished piece. Use a small piece of similar canvas and test your thread, stitch, tension, and color combination.
This is particularly helpful when trying an unfamiliar stitch. You can see how much canvas coverage you get, whether the thread behaves comfortably, and whether the finished texture matches your expectations.
A practice sample does not have to be perfect. Its purpose is to help you make decisions with confidence before you begin the main design.
Plan Before Starting Detailed Areas
For creative projects with several colors or complicated sections, take a few minutes to plan your stitching order. Starting with the largest or easiest sections can help you understand how the colors work together before moving into smaller details.
You can also keep your selected threads together so you do not have to repeatedly stop and search for the correct shade. Labeling or organizing colors is especially useful for larger projects.
At Emily’s Stitchery, stitchers can find a wide range of Essentials thread colors for different creative projects, making it easier to explore color combinations and plan a personalized canvas.
Conclusion
Using the right thread is about more than simply matching a color to a canvas. Mesh, coverage, tension, stitch choice, texture, and color combinations all contribute to the final result. Essentials Needlepoint Thread can be a useful choice when you want to explore different colors and creative effects while developing your stitching skills.
The best approach is to experiment gradually. Test your thread, try different stitches, compare colors, and pay attention to how the material behaves as you work. With practice, you will become more comfortable choosing combinations that suit both your project and your personal style.